Lets start with updating ARPL
You can learn more about installing ARPL in Proxmox in the following Post’s easy — advanced
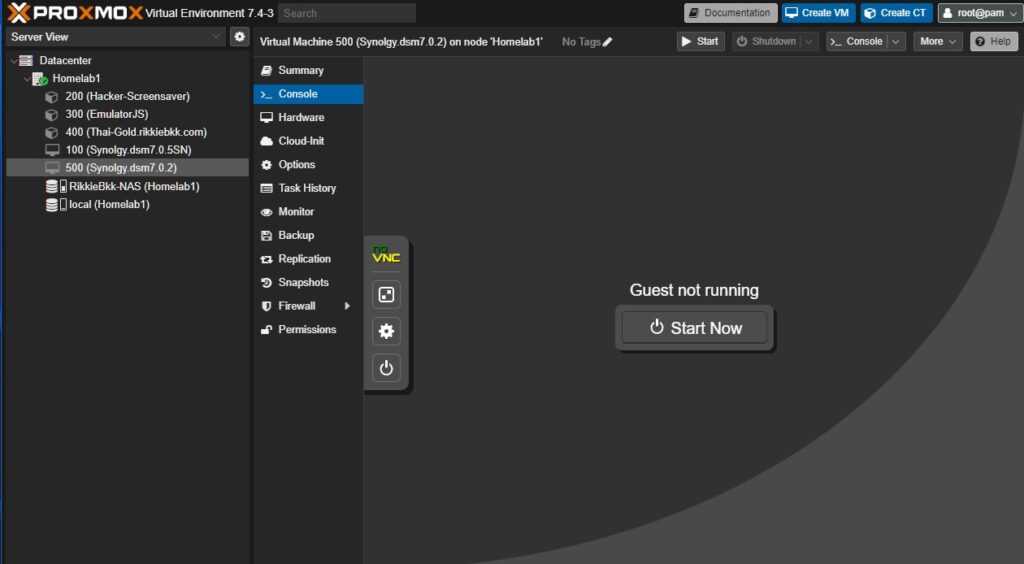
- Go to to your Xpenology installation and shut down the NAS and open the console window.
- Open your console start it again and pushing the down arrow for several time till you see this menu.
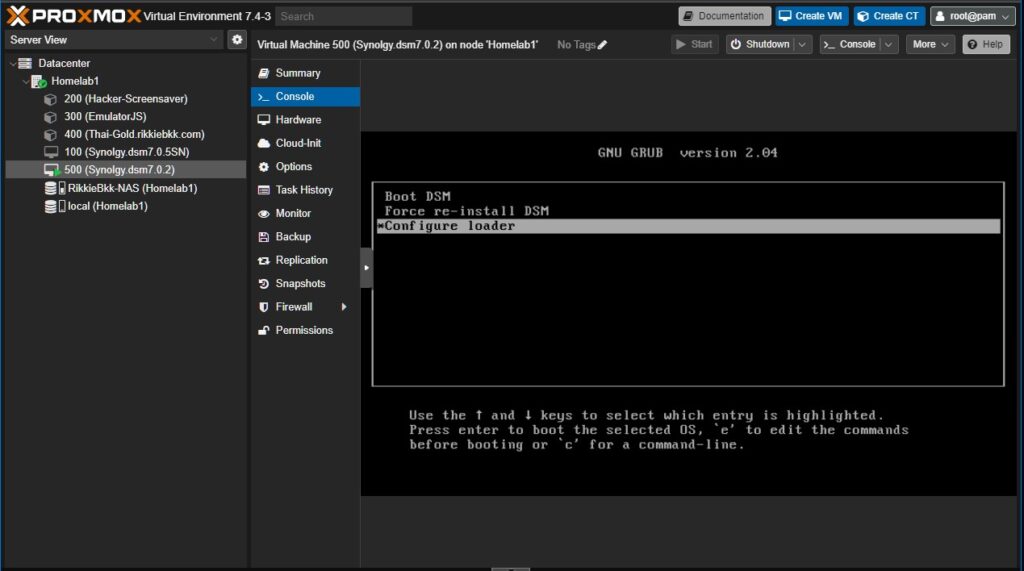
- Choose ” Configure loader” end press enter be sure to note the IP address and port number and let it load for a minute to be sure the config menu is ready.
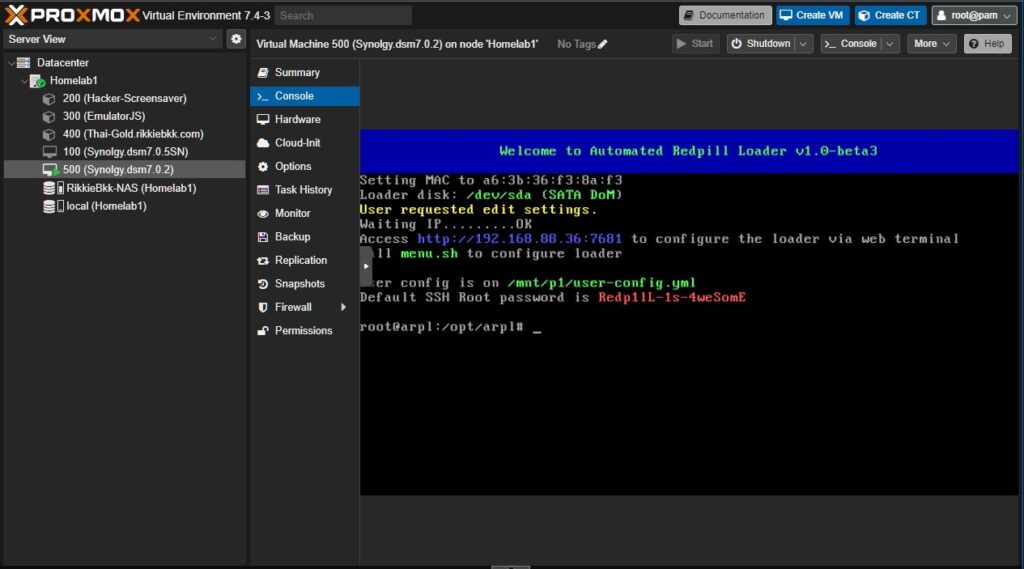
- Open a new browser window type in the IP address and port number like in your loader window, you will see the following config menu go straight to update menu end press ok.
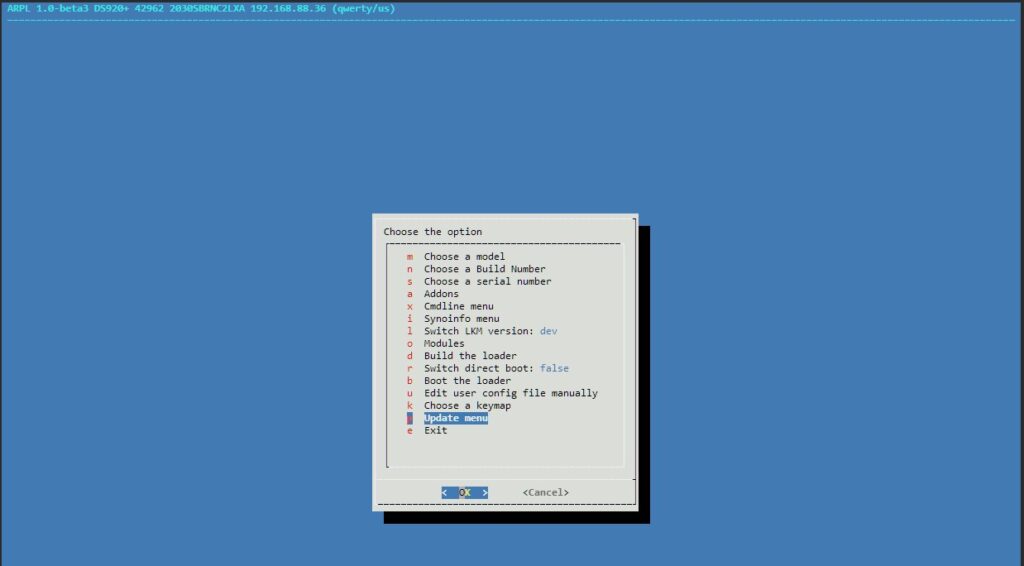
- 1 by 1 update the Arpl if asked to reboot say no until you finished the last one and then choose exit.
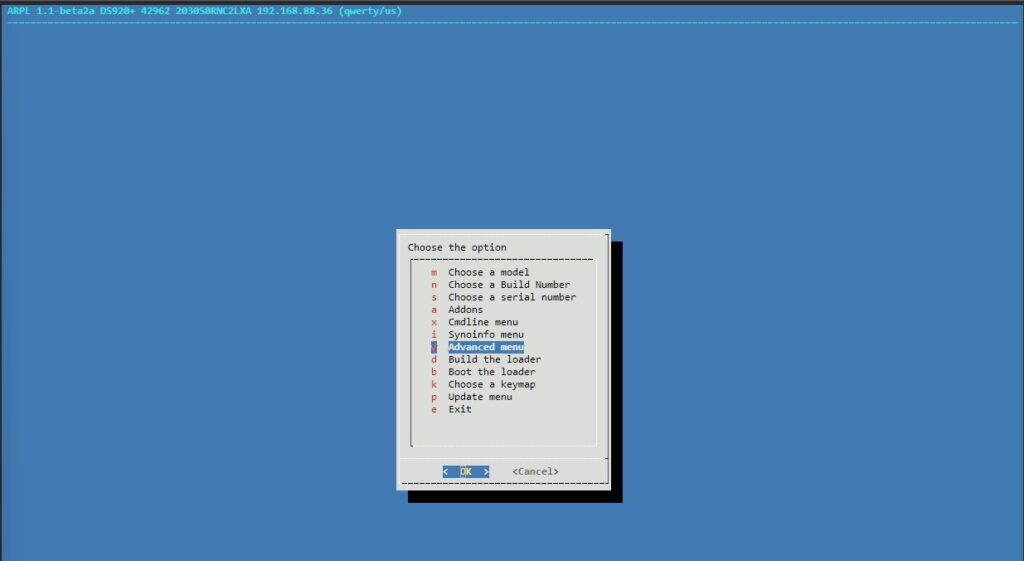
- Go back to proxmox window and reboot again pressing several times the down arrow key. Again go to configure window you will see that the version number is changed.
- For those who have a official synology serial number and mac address now you can edit it as follow.
- Go to the advanced menu open it and choose ” Edit user config file manually.
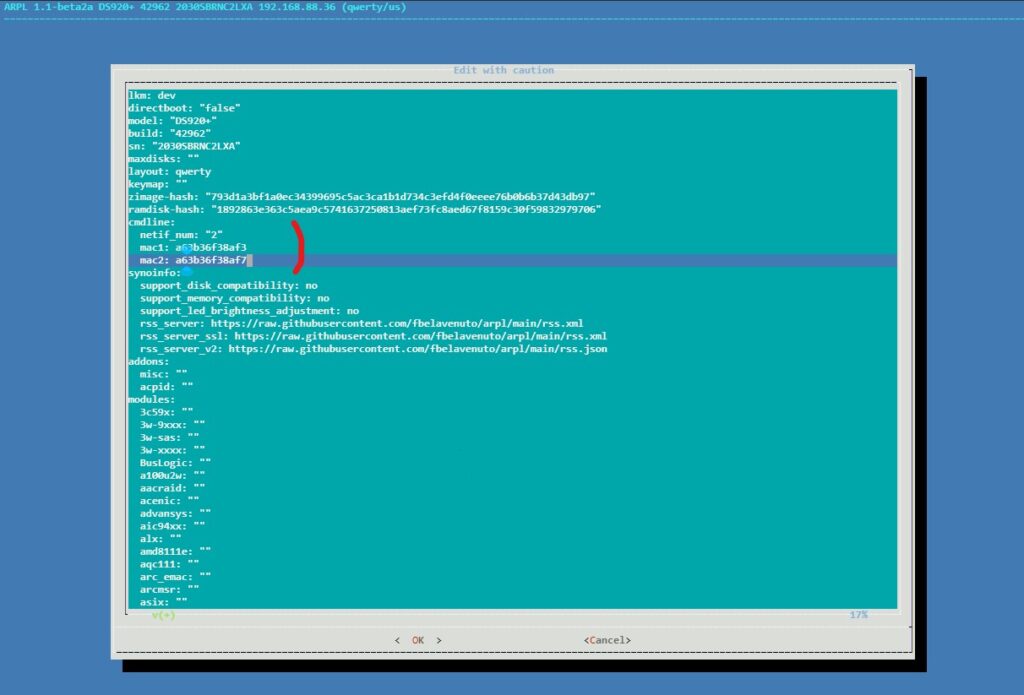
- Be careful not to type something wrong goto SN: and put your original serial number then go to “netif_num: “1” and change it to 2 (2 network iterface and 2 mac address)

- Build the loader and then boot the loader.
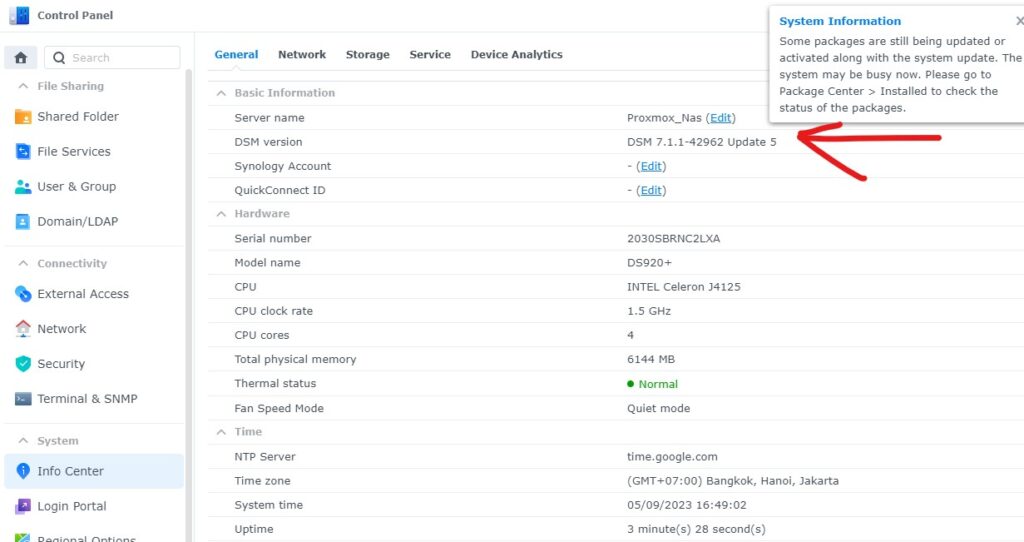
- after booting the loader go to the ip address and use port 5000
finished
Now you can update your Nas to the latest dsm and if you use original sn and mac you can even download the Advanced Media extensions.
Thats it
As usual if you like this just buy me a coffee to keep me going.

if you have any questions just send email to RikkieBkk
 7714
7714