Lets first prepare your Synology NAS.
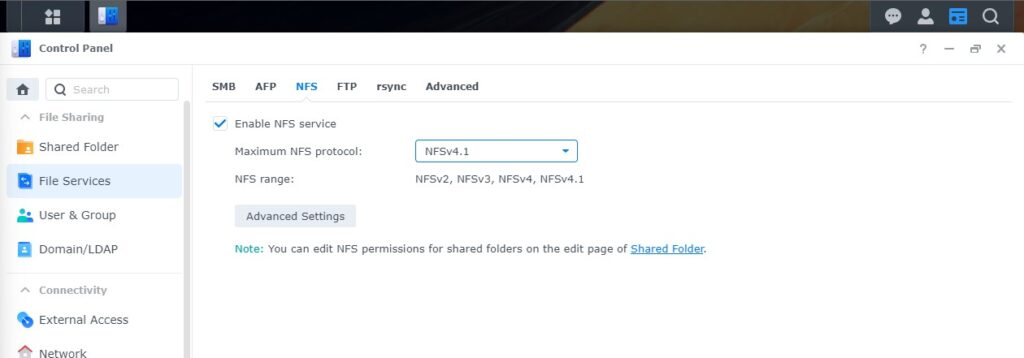
- Go to Control Panel and open File Services and select NFS and enable it Maximum NFS protocol choose V4.1 it is compatible with al the previous ones.
- Again in Control Panel choose Shared Folder and Create and in the dropdown list choose share Folder Name it and click >>>> Next
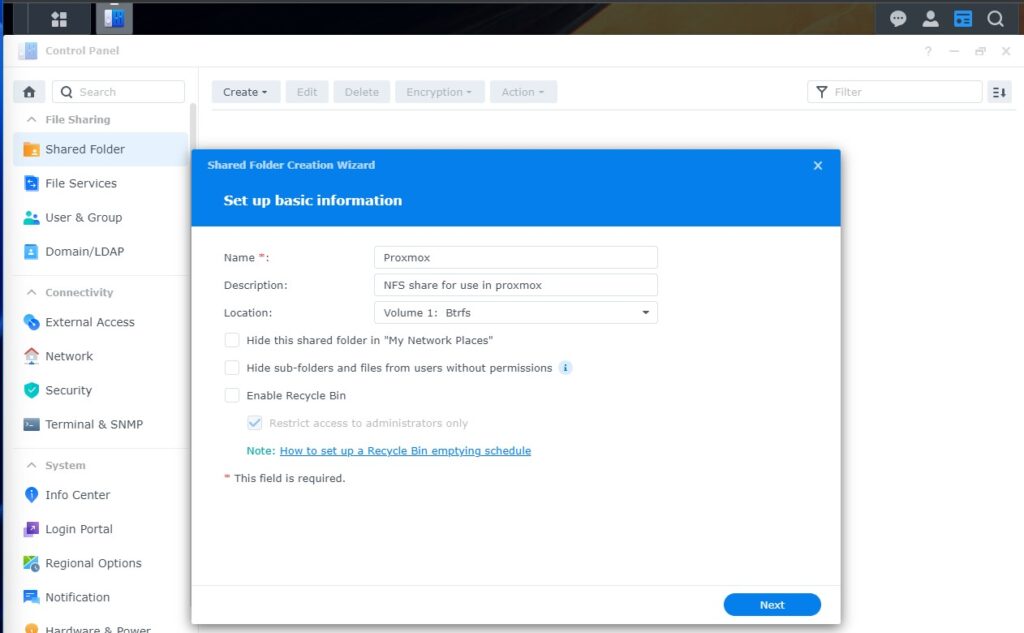
- Dont use Encryption >>> Next for advanced setting fill it in like you want it is not important. >>>> Next and again Next to confirm.
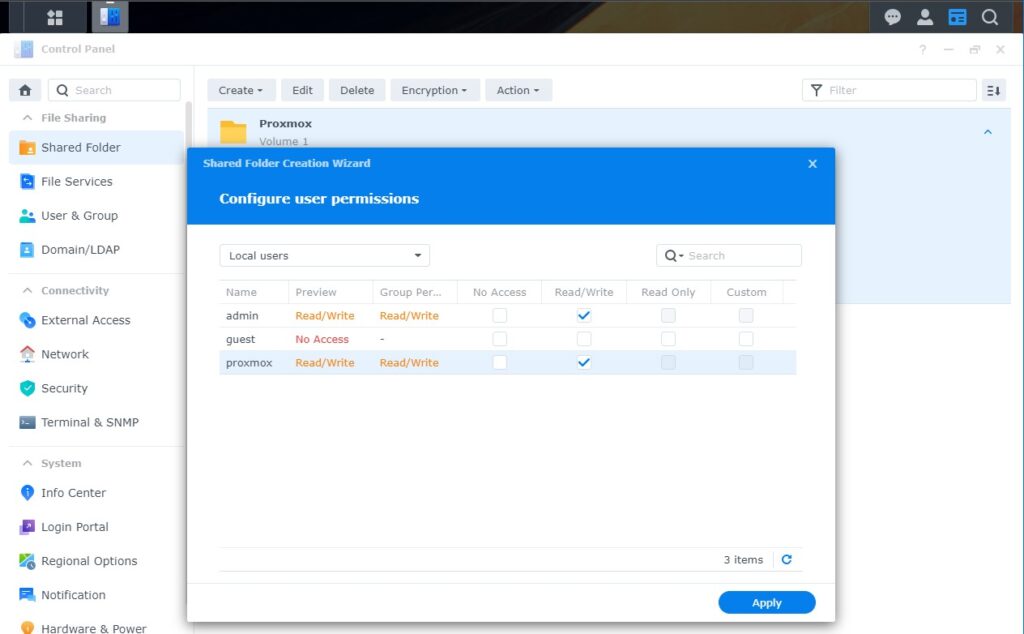
- Next Configure the user permissions and >>>> Apply
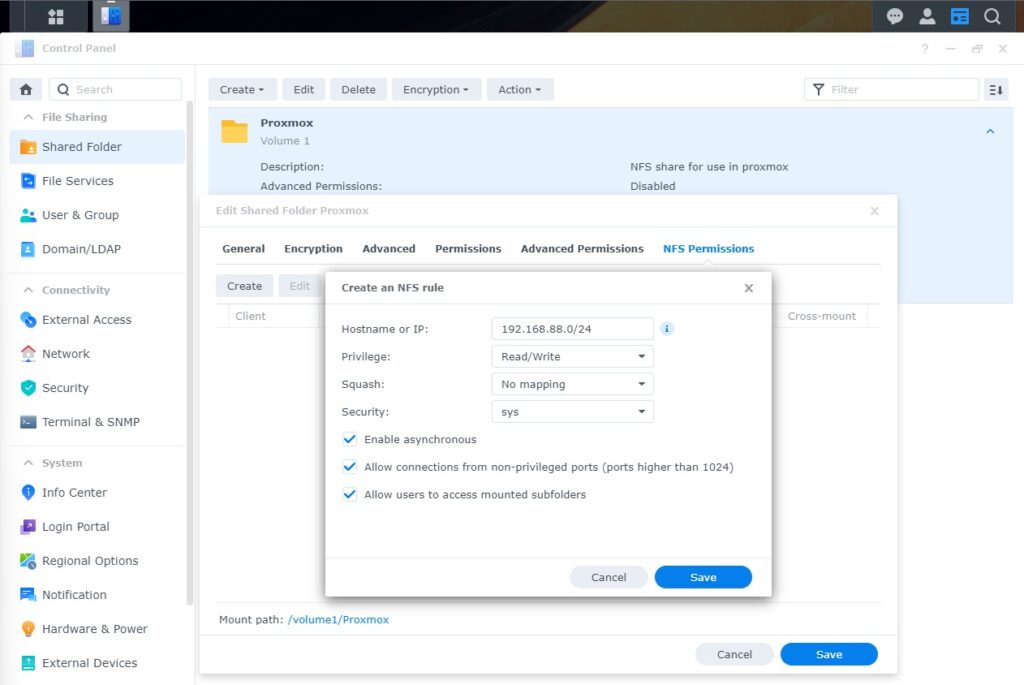
- Then go back to your proxmox shared folder click Edit >>>> NFS Permissions fill in the IP of the proxmox server or us the /24 so all server in your local network can use it. >>>> Save >>>> Save
- After you are finished that’s it for the Synology (Xpenology) site we can now open our Proxmox Server.
Add the New Synology share to your Proxmox
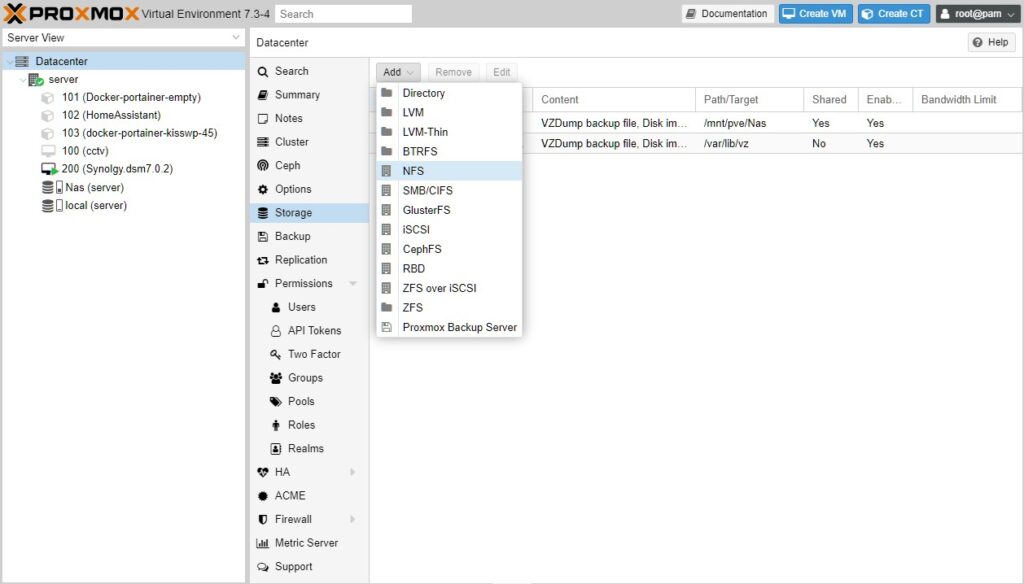
- Go to your proxmox server and click Datacenter in the Left pane and click storage and add >>>> NFS.
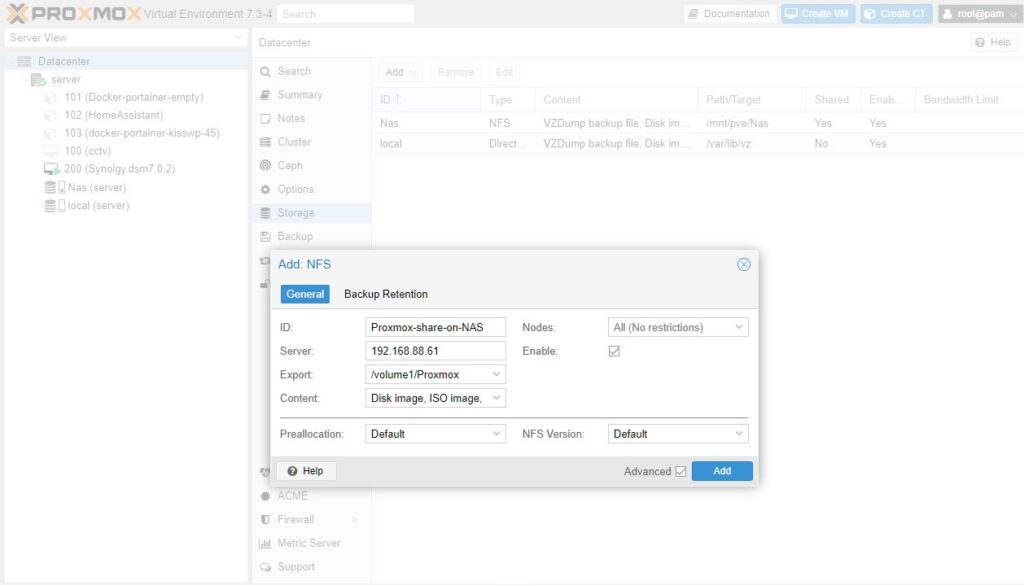
- Choose the ID you want to use the IP adress of your Synology (Xpenology) NAS and the Shared folder for content i propose you select everything Proxmox will make a separate directory automatically be sure the Enable checkbox is checked and click >>>> Add
- When you click add it will take some seconds before your new drive is showing and you can use it for making backups and store allot more.

Thats it
I hope you like this little tutorial and as always if you have mor questions just mail me at RikkieBKK
Don’t forget the coffee thanks in advance.

 3108
3108