
Preparing Cloudflare
- In the previous part we talked that you buy a Domain name if you did the we can move on, in my case it will be the Domain “rikkiebkk.com”
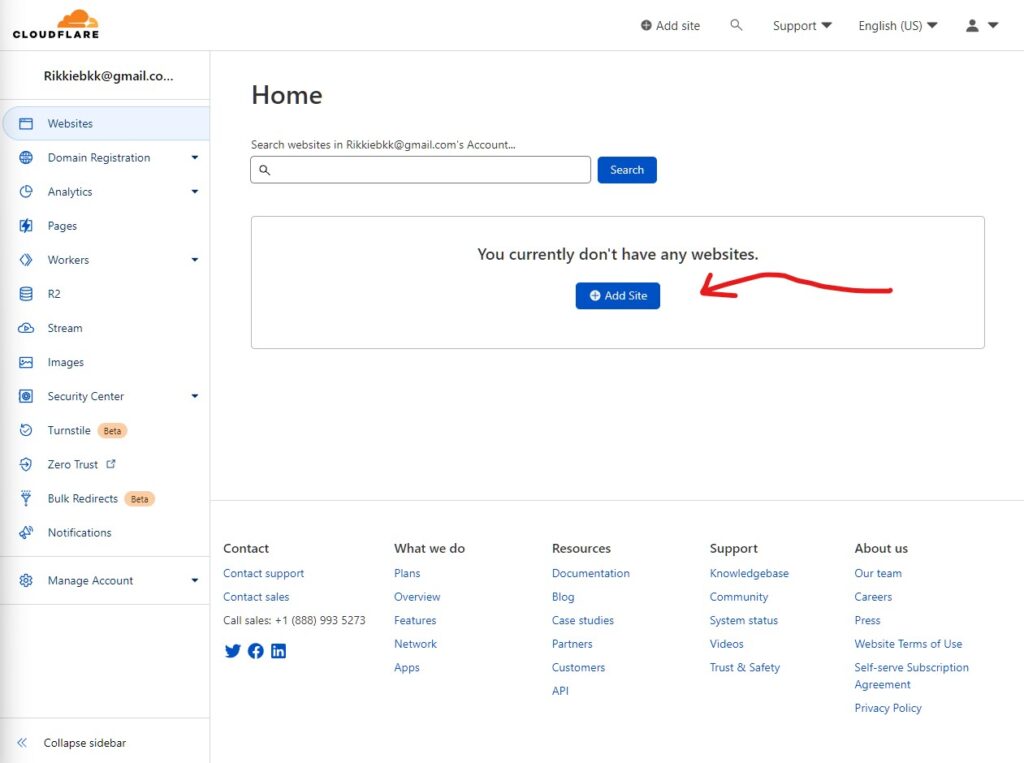
- Next login to you cloudflare account and go to Websites in the menu left of the page and click Add Site
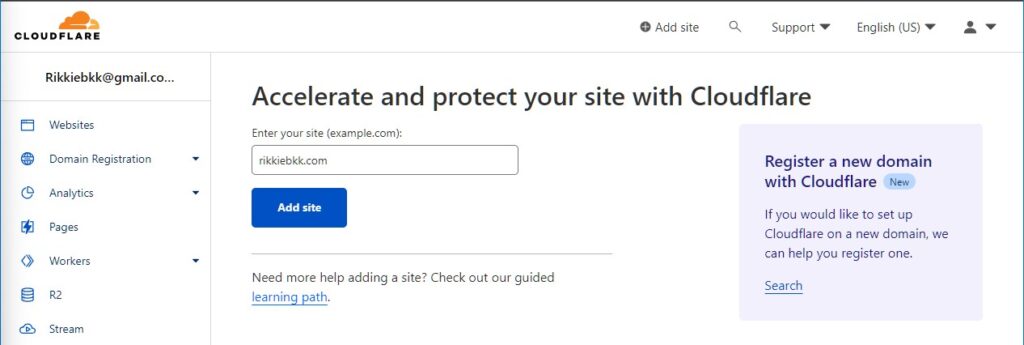
- Fill in your domain name like in the picture and press Add site
- Check the Free plan and press continue cloudflare wil now start to see if you already have DNS records Look here to learn more about them.
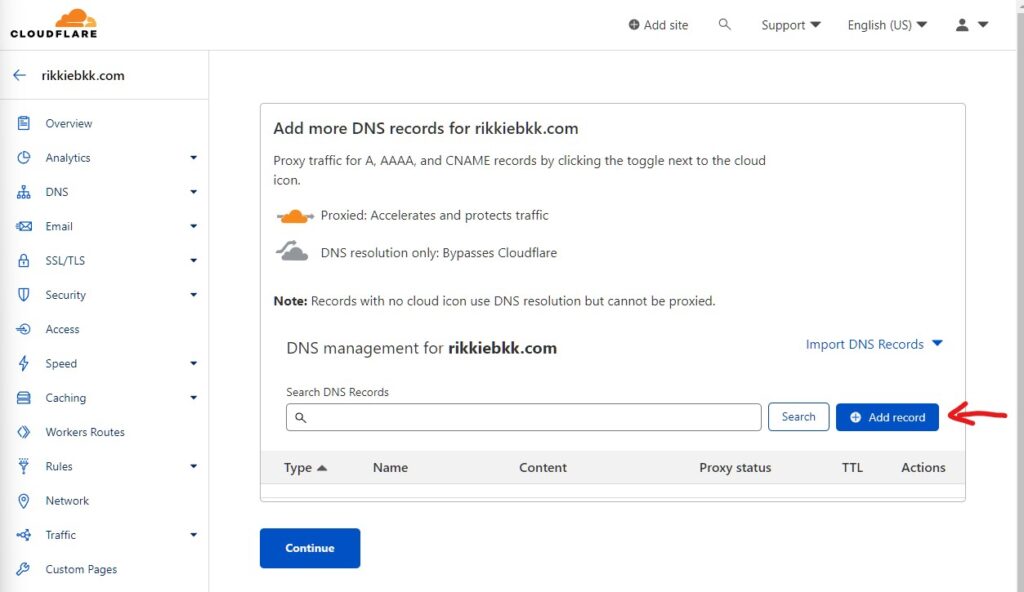
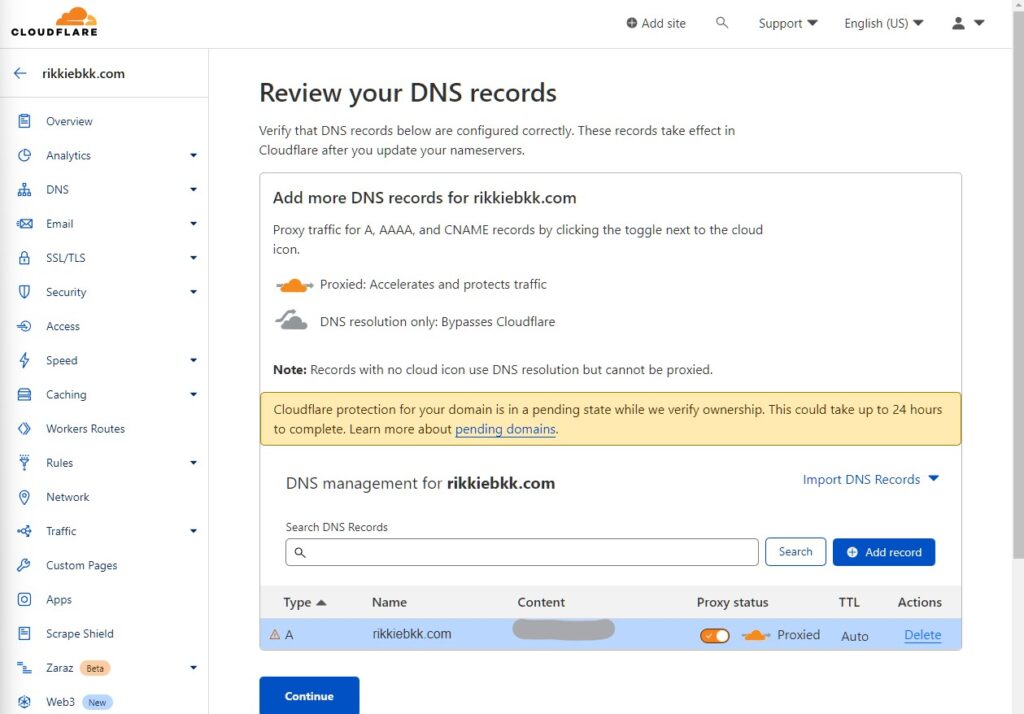
- Click the button Add record.
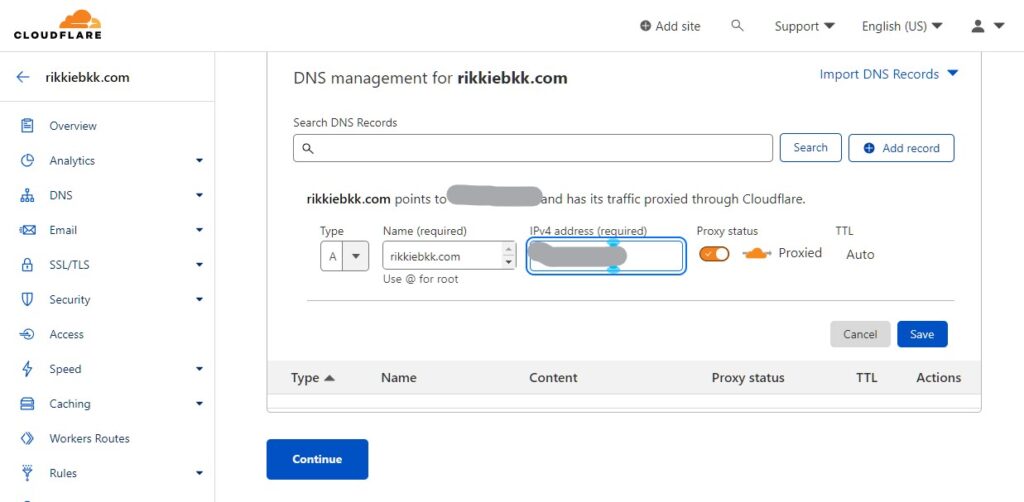
- We are going to make a “A record” just fill in you domain name and public IP address like below, you can find your public ip Google My IP and you will get it fill it in like below and press Save. I greyed out my IP address.
- You will get a message that Cloudflare is checking that your Domain is really yours that could take some time (most of the time less then an hour) also check your mail because you have to verify that to. >>>> Press Continue
- Next change you name servers with the 2 name servers from Cloudflare just copy them and go to the website where you bought the Domain name and login and change them then press >>>> Done, check nameservers.
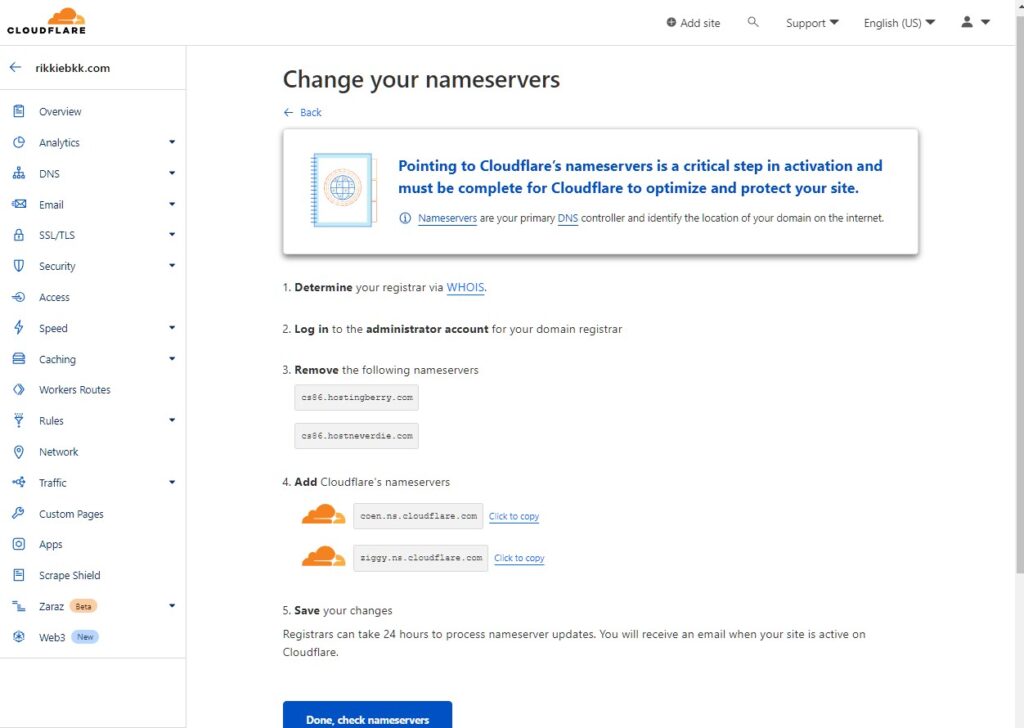
- After you change the name server just relax and wait till Cloudflare updates them.
That’s it your domain is now protected by Cloudflare
Just have some patience it can take from 5 minutes to some hours for updating and propagating the name servers.
Check back regularly for PART 3 where we will install WordPress in our Proxmox Lxc Docker container with Portainer.
And don’t forget my coffee

if you have any questions just send email to RikkieBkk
 1934
1934