
We will look at how to install Proxmox VE that can run different operating systems virtually. It’s Debian-based and allows you to set up different virtual machines or containers.
Proxmox is a great hypervisor that will allow you to get into virtualization quickly as it’s very user-friendly. There’s also tons of great information online about it so you’ll have a lot of support when trying to implement different solutions Google and Youtube are your best friend here.
Before to Install
- Download the latest Version of Proxmox the actual version today is Virtual Environment 7.3-4 .
- You can use BalenaEtcher or Rufus to write the iso image file to a USB stick.
- Dont forget to look in the bios if virtualization is enabled in the bios if you not find it see if your motherboard supports it.
Setup instructions
- Select your Bootdevice from your bios my board is F9 when you startup select the USB stick that you write before.
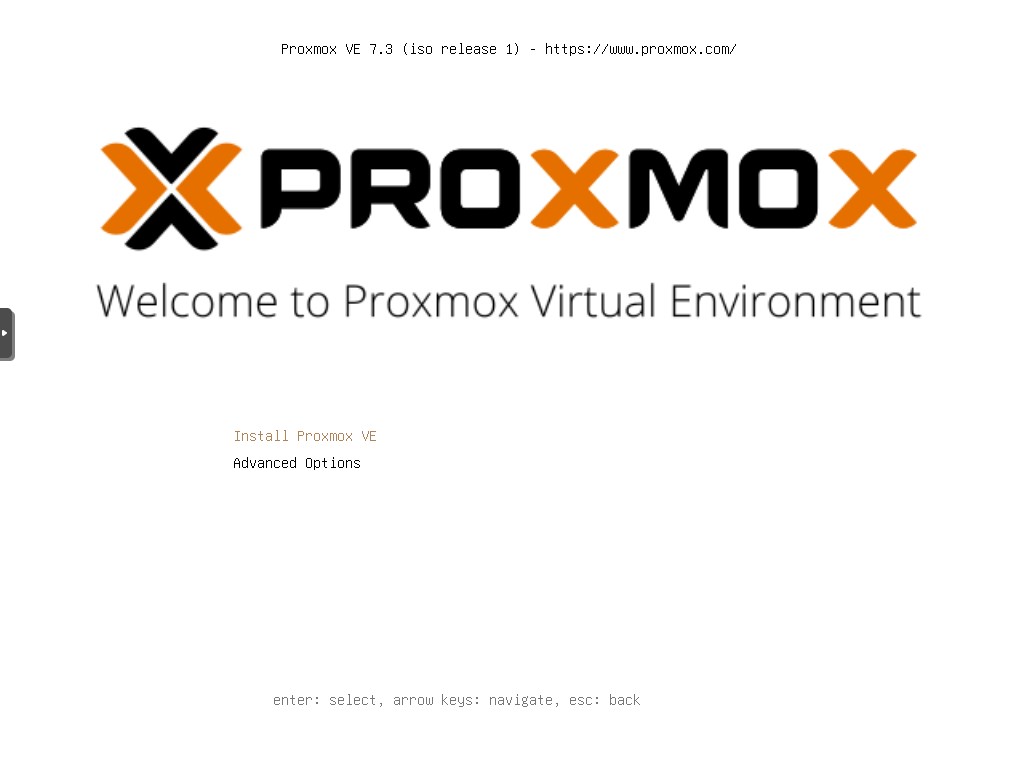
- If you get the folowing screen you are on the right track just select Install Proxmox VE
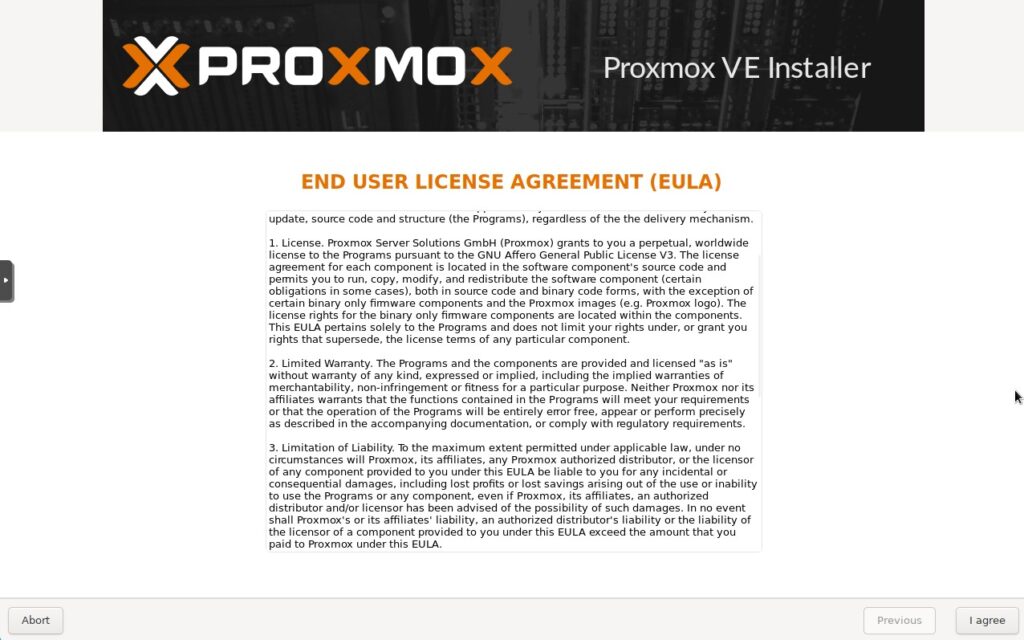
- Just agree with the terms by clicking the box
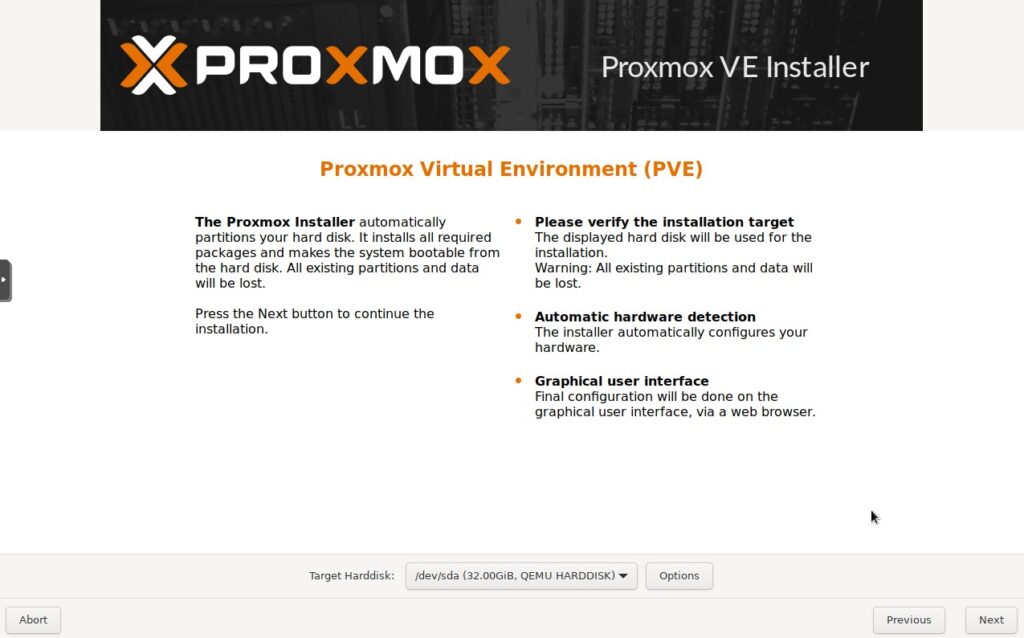
- Select the Hard drive where you want to intall Proxmox VE if you only have 1 Hard drive select ok.
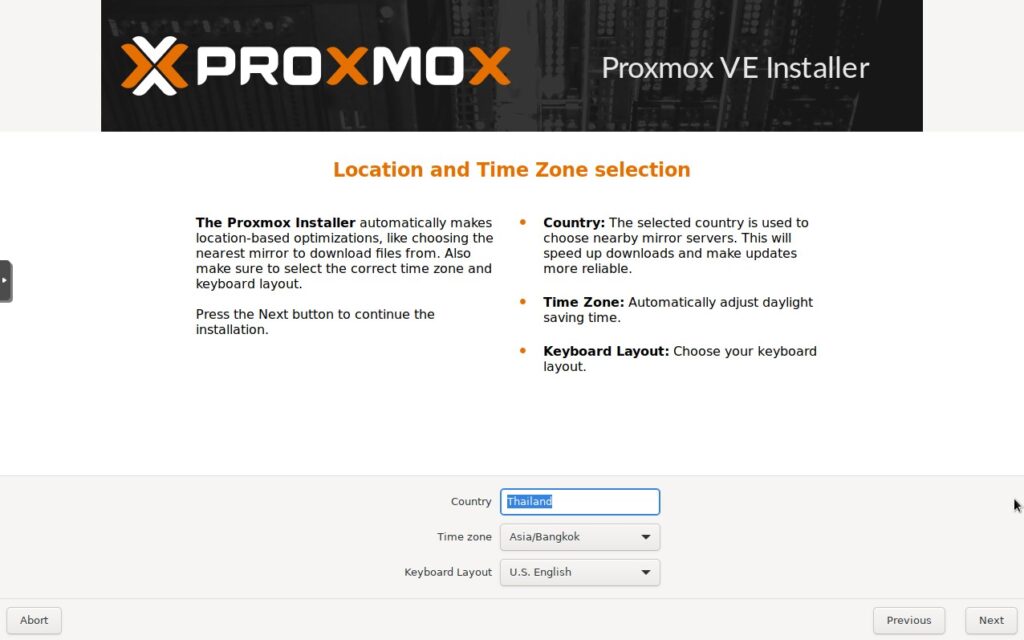
- Select your Country, Timezone, and Keyboard Layout, then proceed.
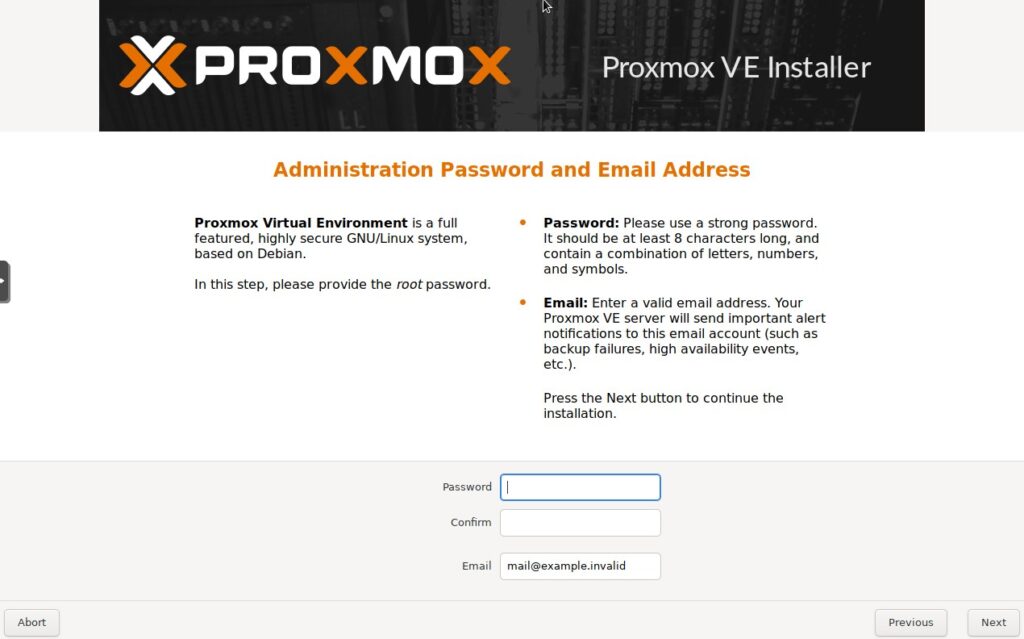
- Fill in the Admin Password you like to use confirm it and fill in your Email address then next.
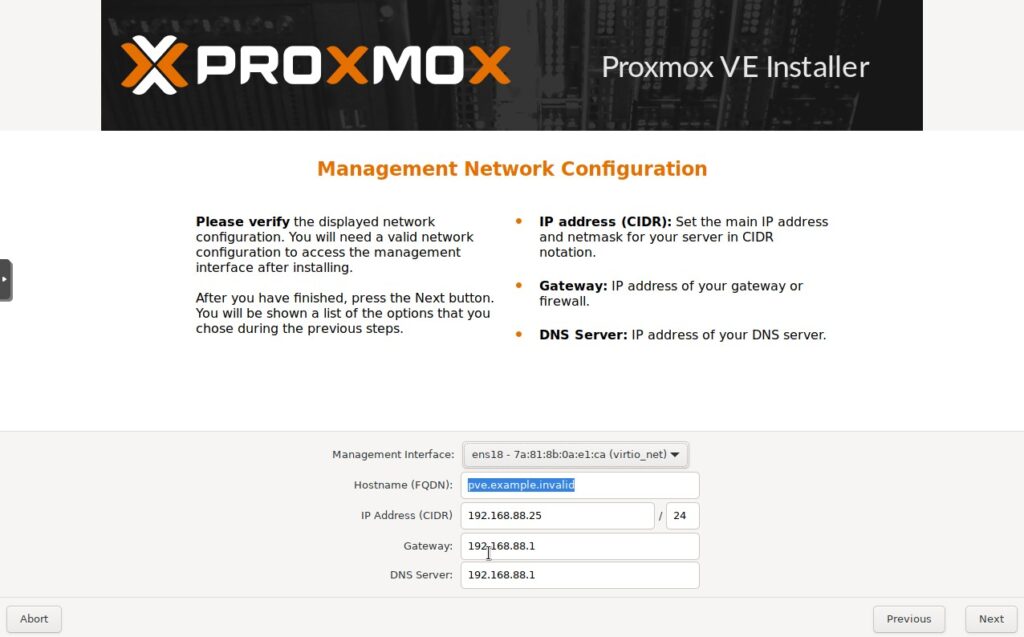
- Select the correct Management Interface(network card if you have more then one), enter in a hostname, then fill in the IP address that you like to use, as well as the gateway and DNS server and next again.
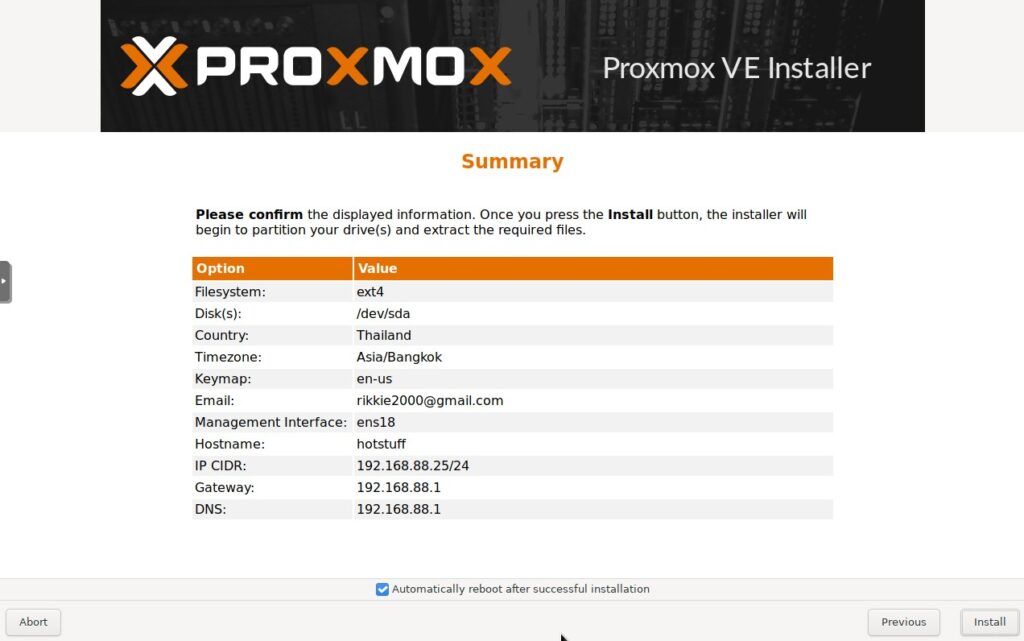
- A page with the information you just provided will show up … check if te info is correct and press Install.
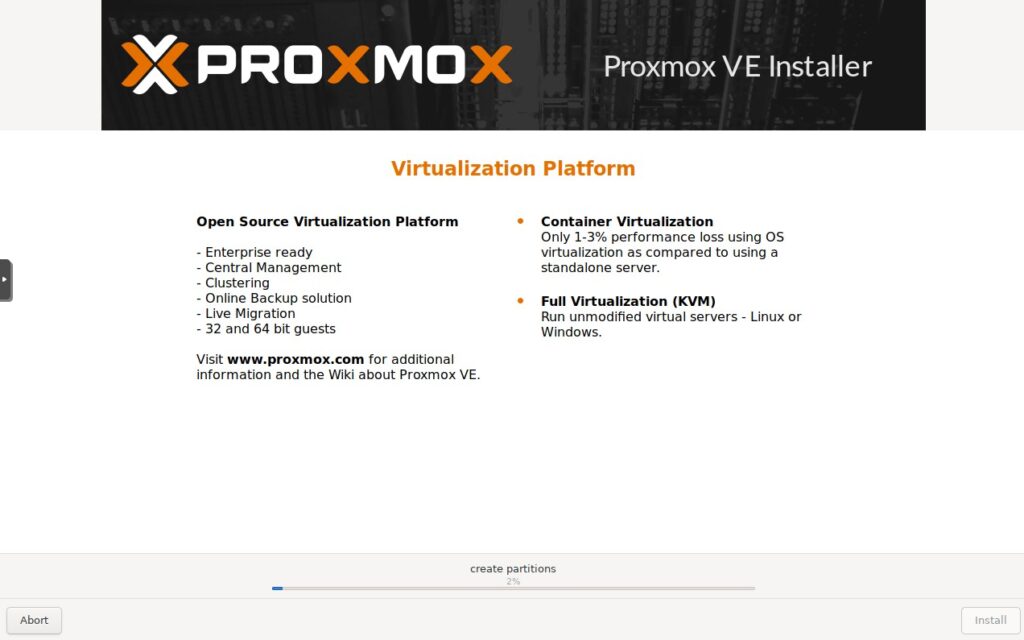
- The installation will now begin it will take some minute depending on you hardware.
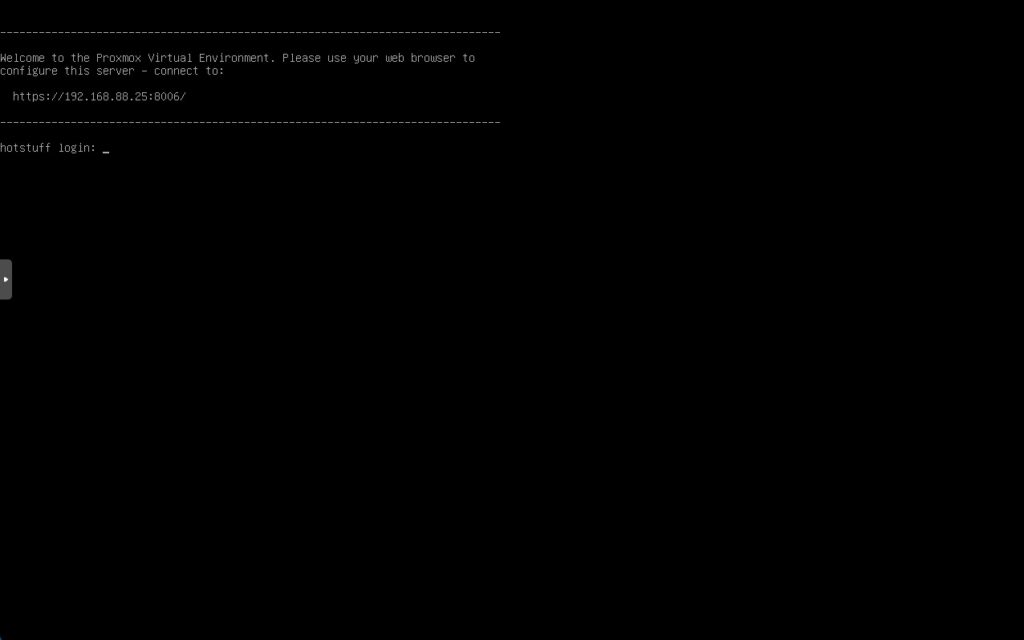
- Just wait and the installation will reboot and you will be greeted with a welcome message and a IP adress and port where you can now open the Proxmox interface in a new webbrowser window.
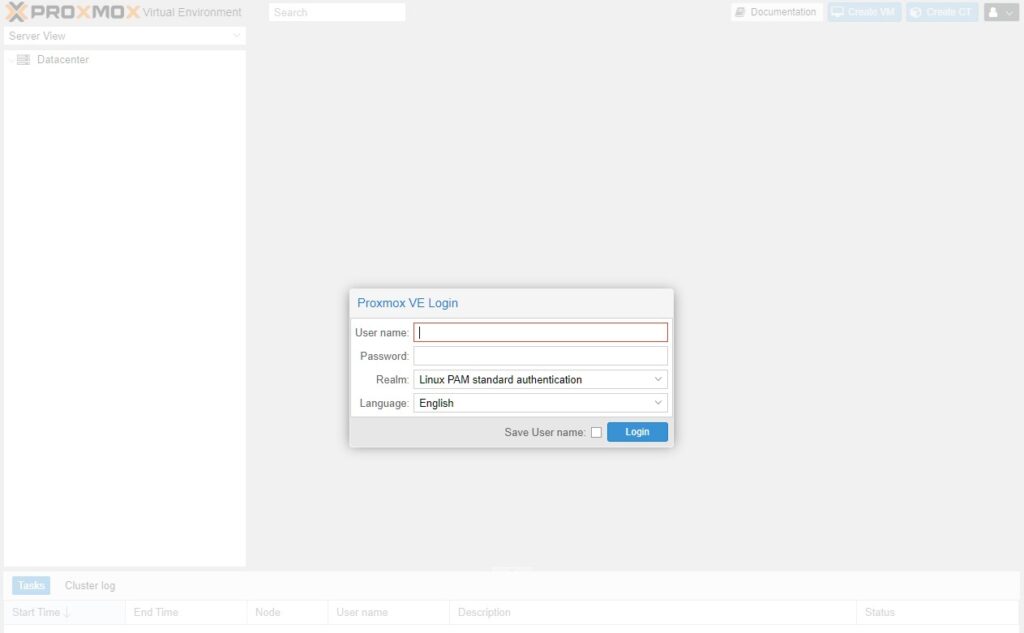
https://your.ip:8006 ignore the security warning an just proceed to the login window.
- Login with the username root and the password you filled in before.
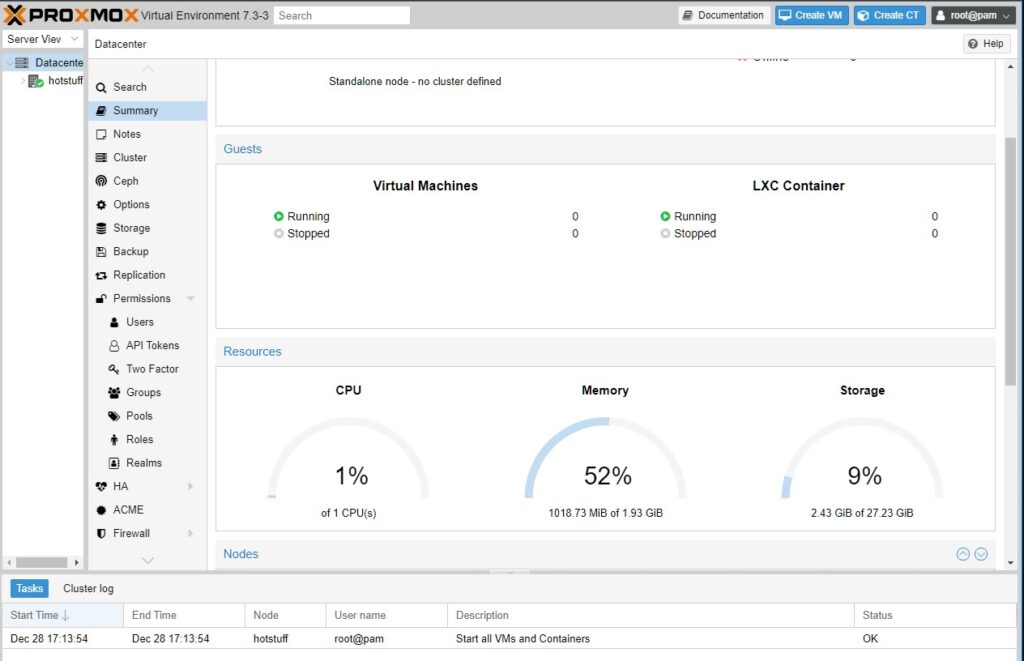
The Proxmox Management Interface
Now you can start with making virtual machines and container and controll Proxmox VE.
your journey has just begun.
Now you are ready to set -up your first virtual machine and or container just look for future aditions to this site.
Thank you for reading this and come back for future additions.
 1011
1011